Hey! If you landed on this post, you’re probably just like me - you go to the salon every 2, 3, maybe 4 weeks if you’re lucky. Sit there for an hour+ just to walk out of there paying $70 for nails that might chip or peel in a couple weeks! Read on to see how I switched to doing my own gel manicures at home for the price of only a few salon manis.
Please note - I am not a professional, this is my personal experience. Doing your own gel manicures comes with risks. Be extremely careful to not get any gel polish on your skin as it may cause an allergic reaction. Please do your own research before deciding to do your own gel manis. I encourage you to watch Youtube tutorials and listen to experts!
This post contains affiliate links, which means I may earn a tiny commission at no extra cost to you if you decide to treat yourself. Thanks for supporting my cozy corner of the internet!
Supplies You’ll Need
Check out my list of everything I use for my DIY gel manicures at home. I bought everything on Amazon for convenience, but all of these products can be found at your local beauty supply store, Walmart, Target, etc!
Prep:
This kit has you covered with all the tools you’ll need and more, including the files, pusher, and trimmer mentioned below:
- 100/180 grit nail file
- Nail Buffer Block
- Instant Cuticle Remover (optional)
- Cuticle Pusher
- Cuticle Trimmer
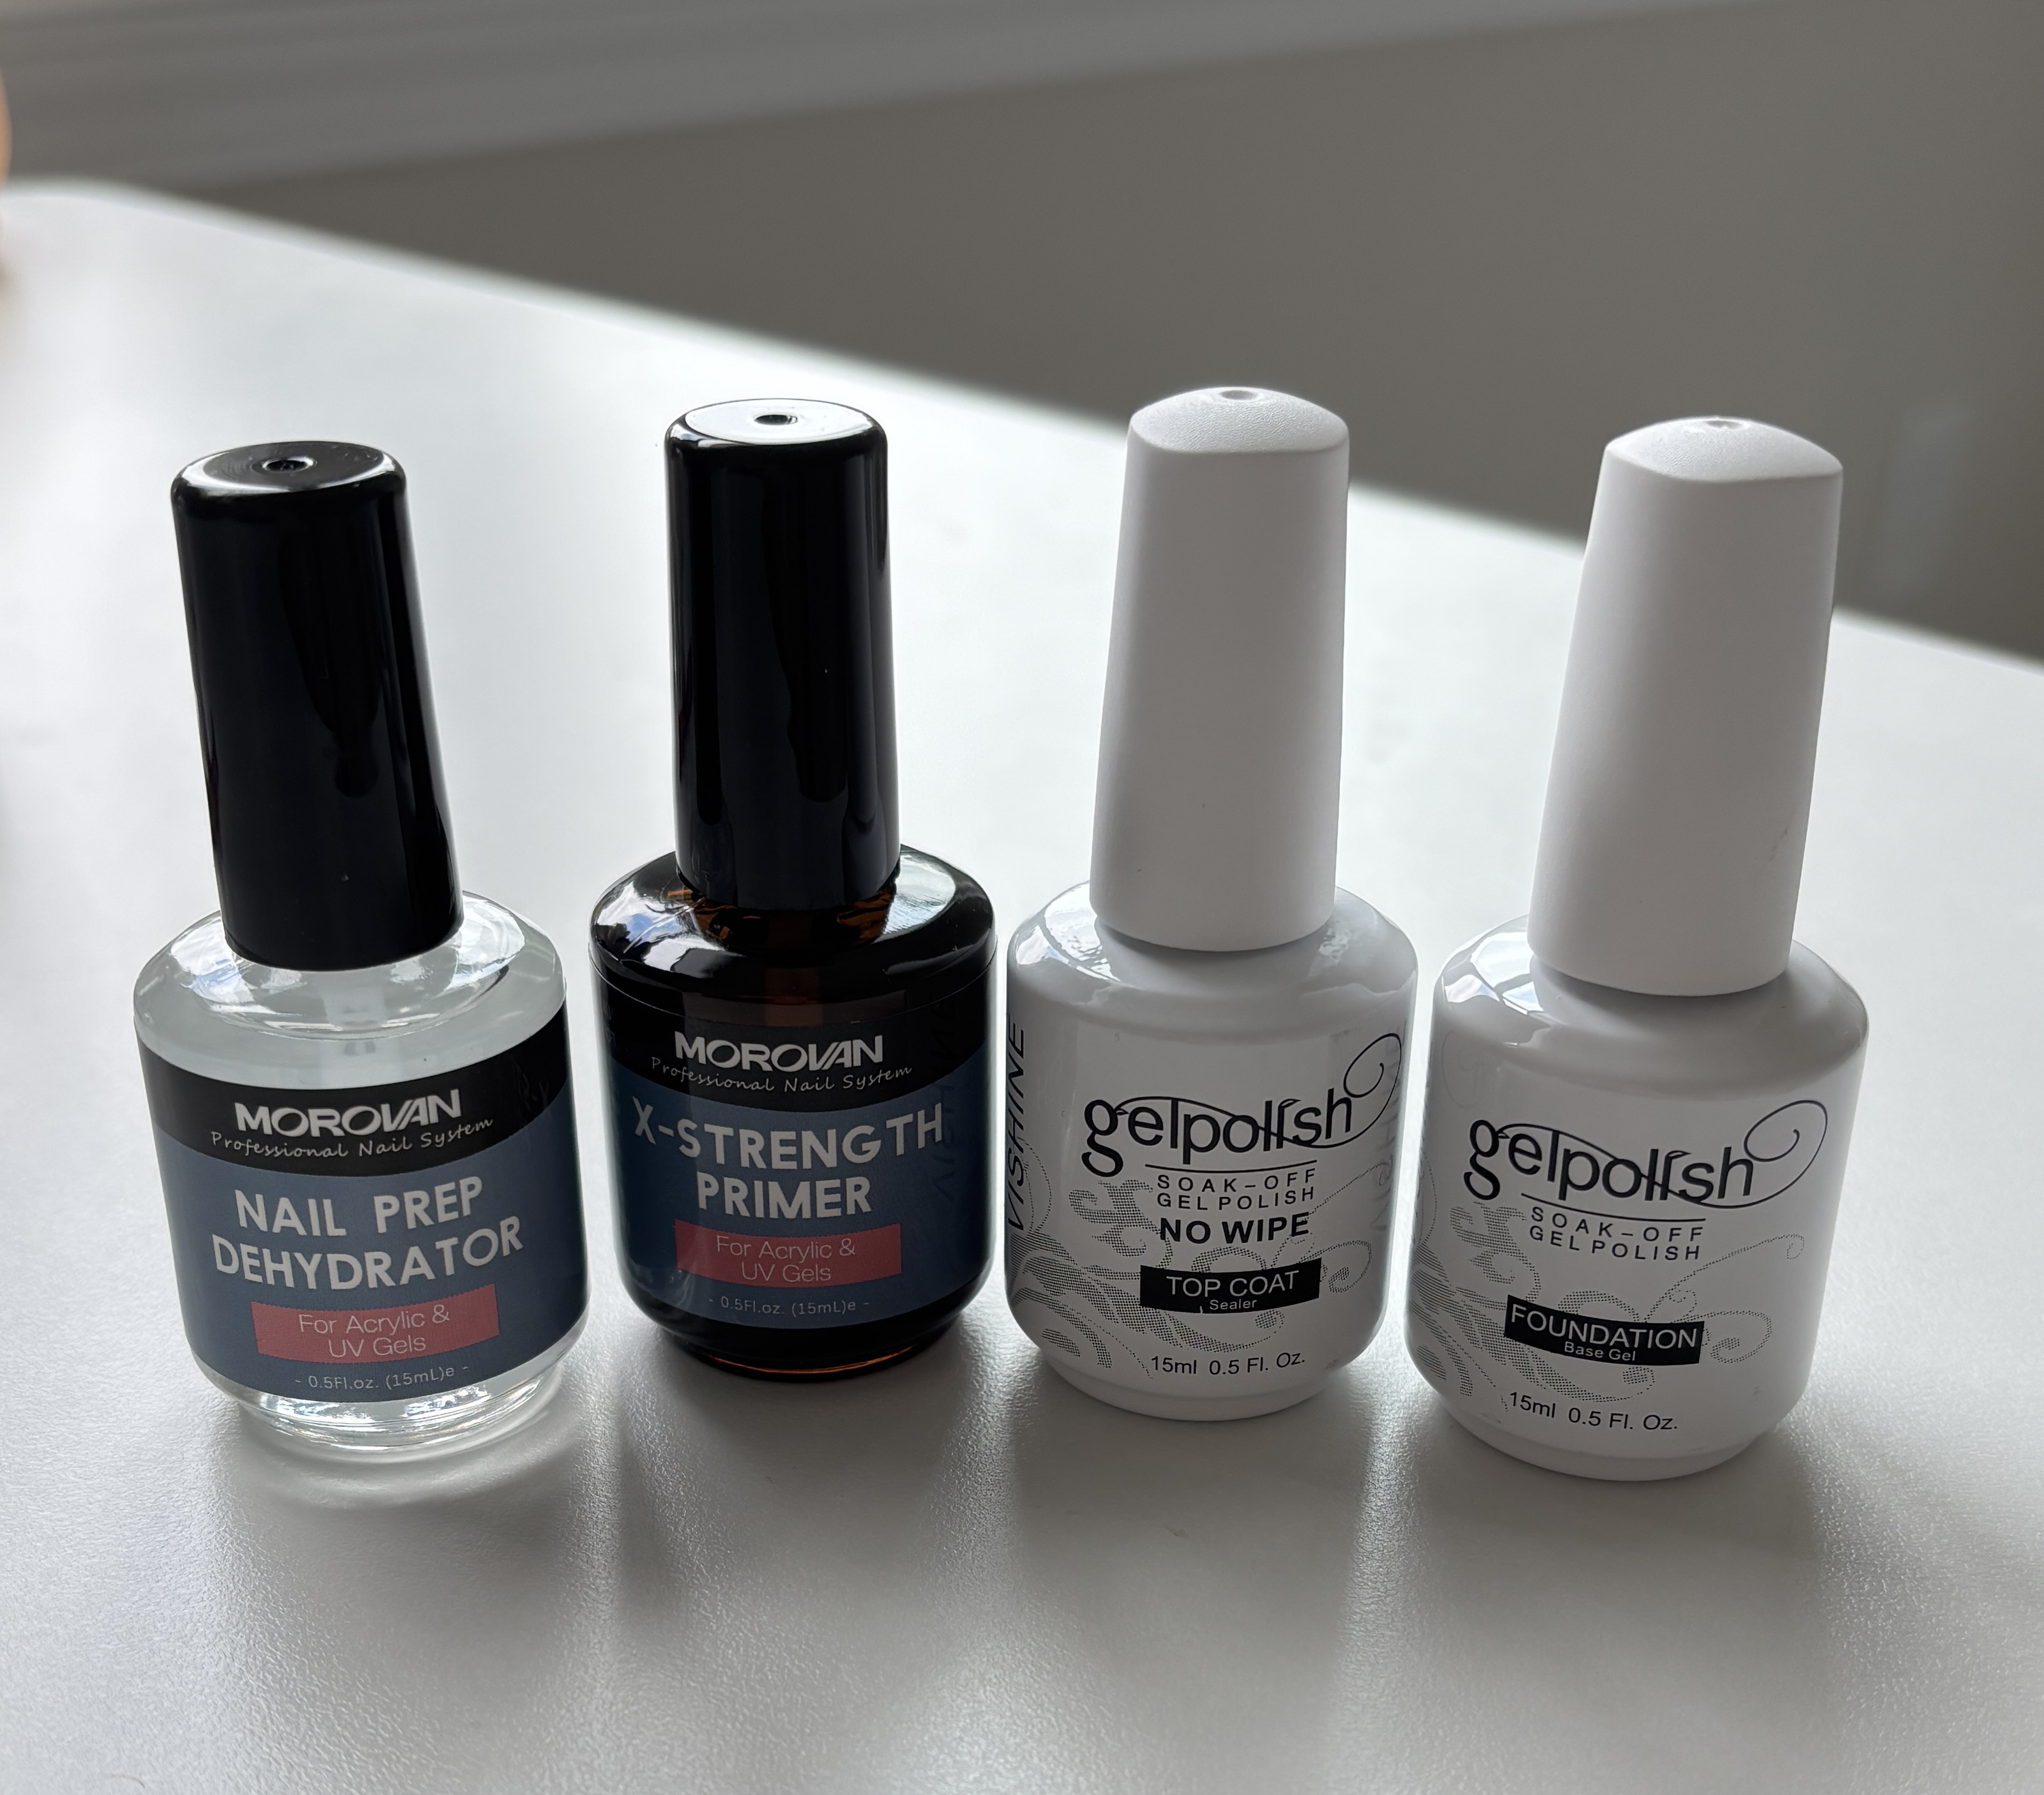
- Nail Dehydrator & Primer
- Cuticle Oil
Polish:
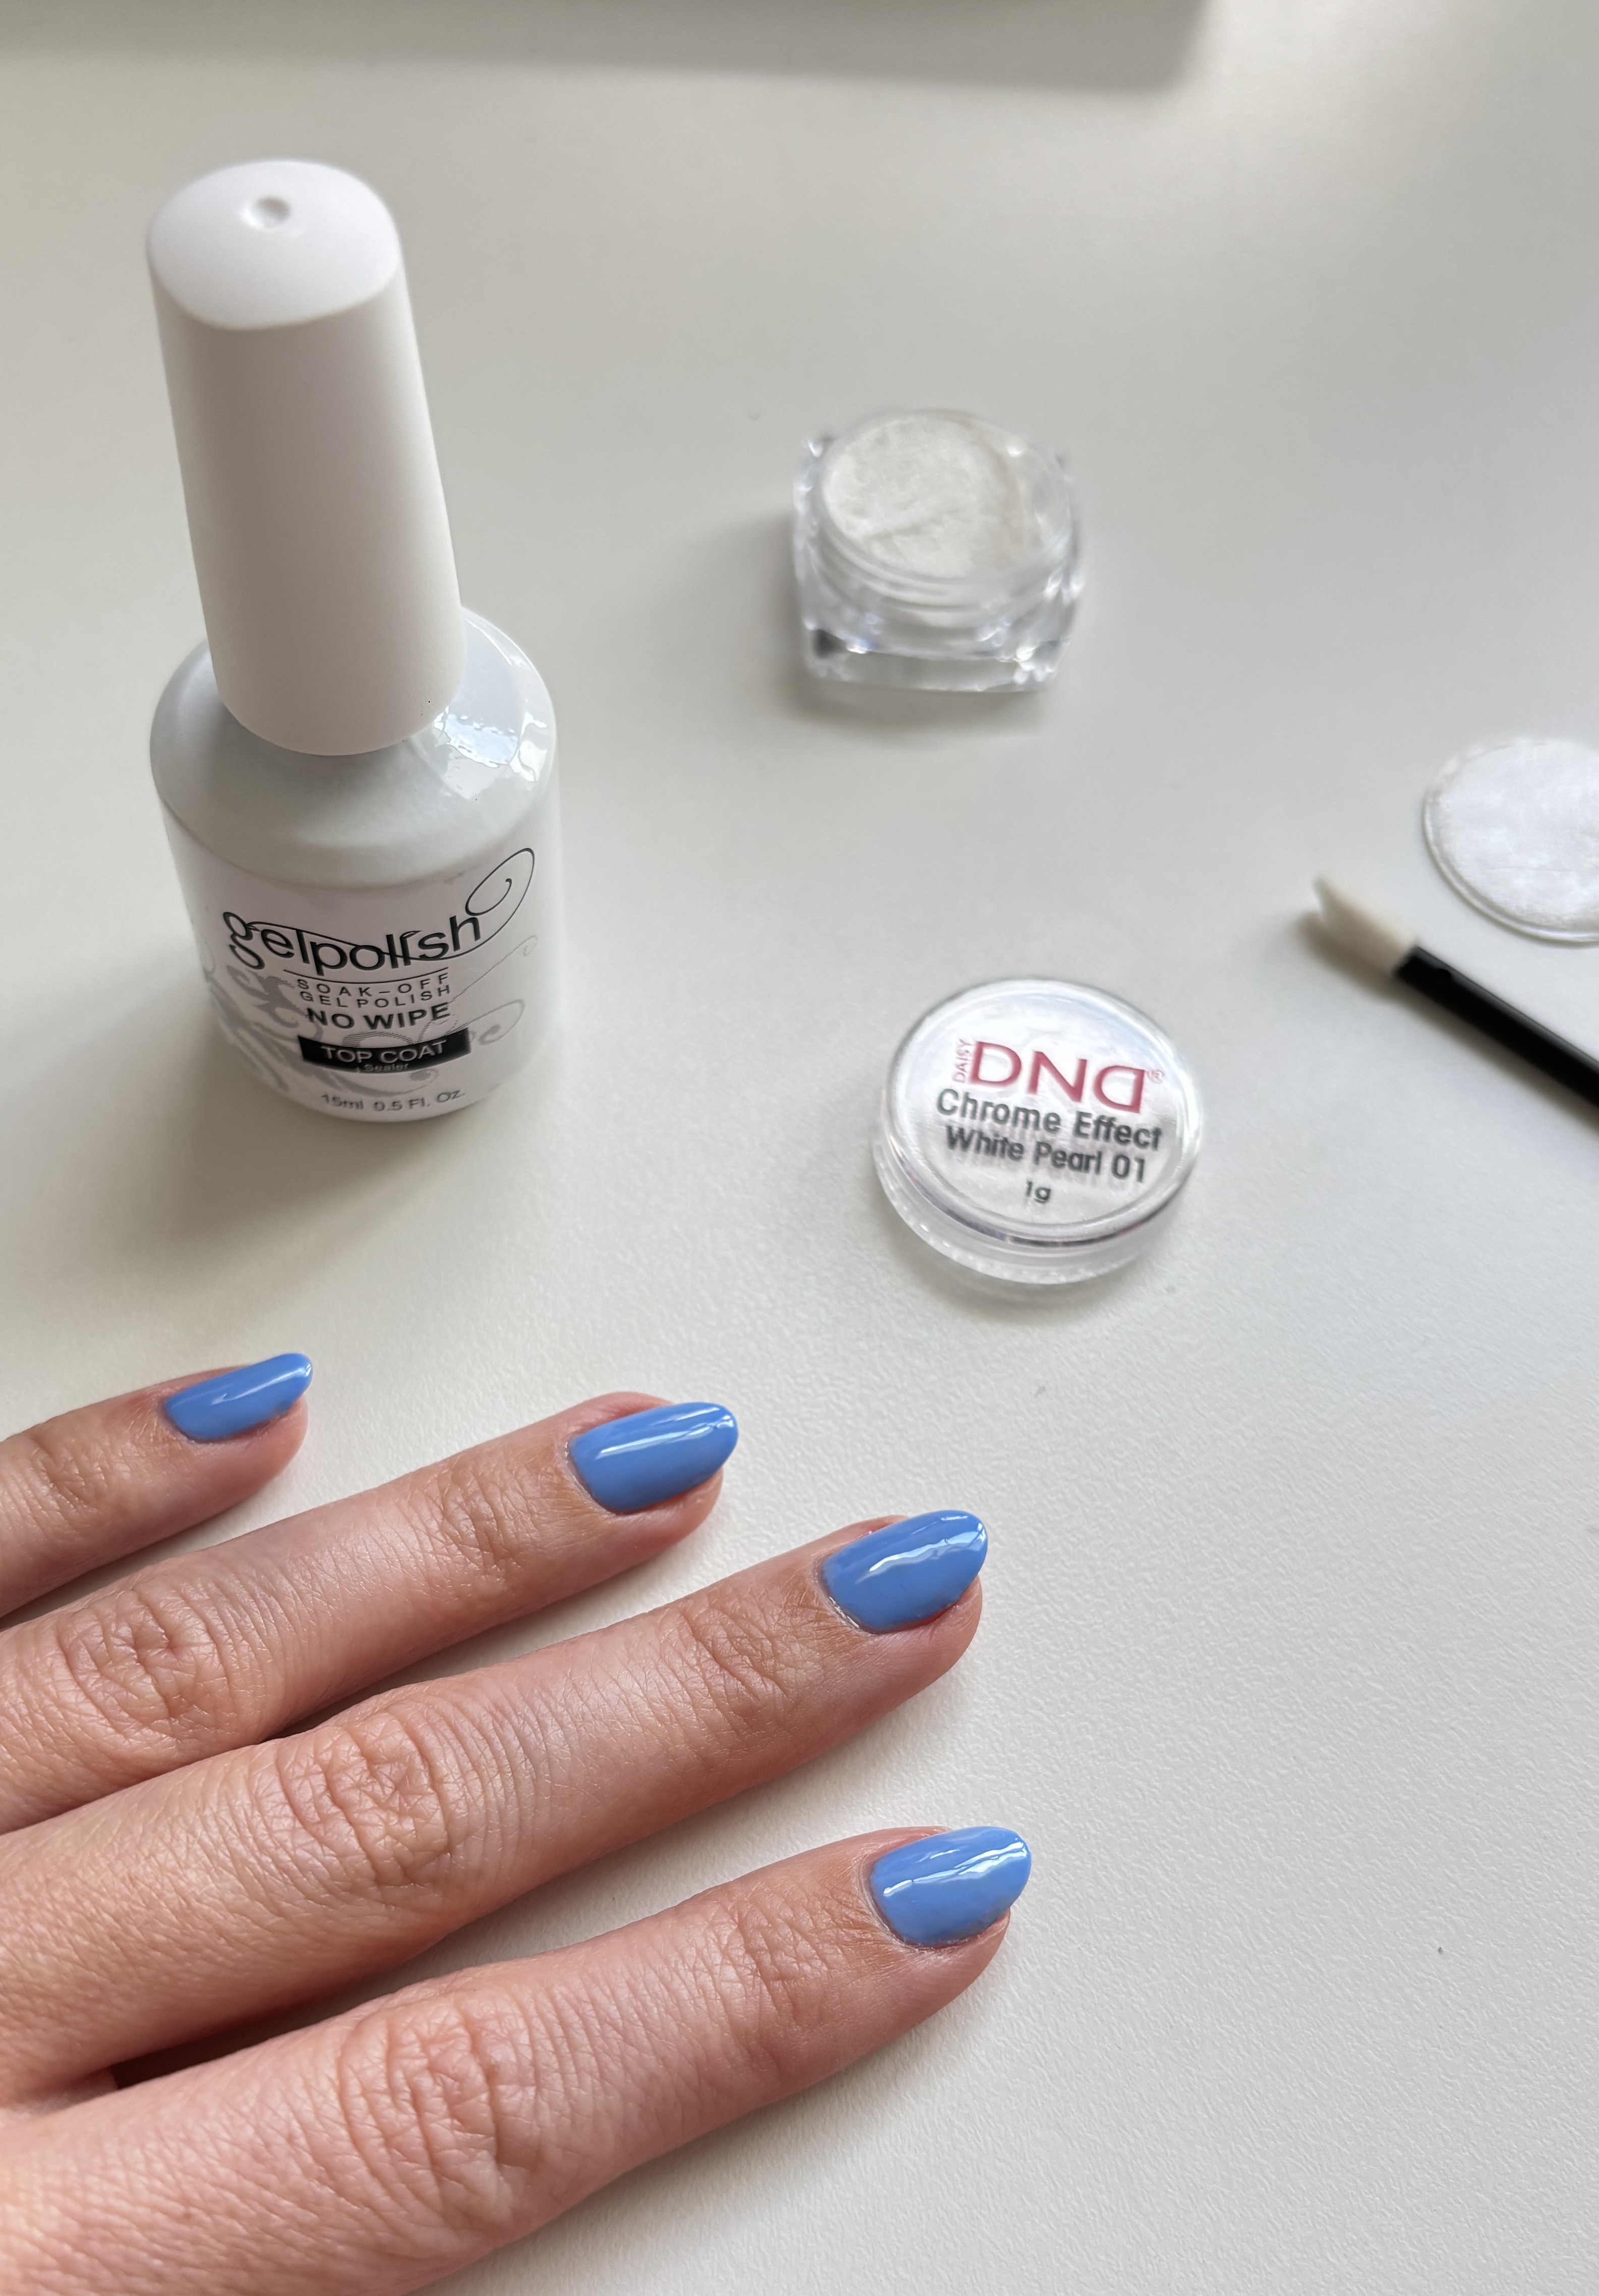
- Gel Base Coat and No Wipe Top Coat
- Gel Polish in your favorite colors!
- I recommend the brand DND - it’s used in salons, but is available for anyone to purchase. Plus, they regularly have sales where each polish is $5!
- Here are some of my favorite colors
- UV nail lamp
- Tiny brush to clean any mistakes
- Small cup or shot glass filled with some acetone
Removal:
- 100% acetone
- cotton balls or pads
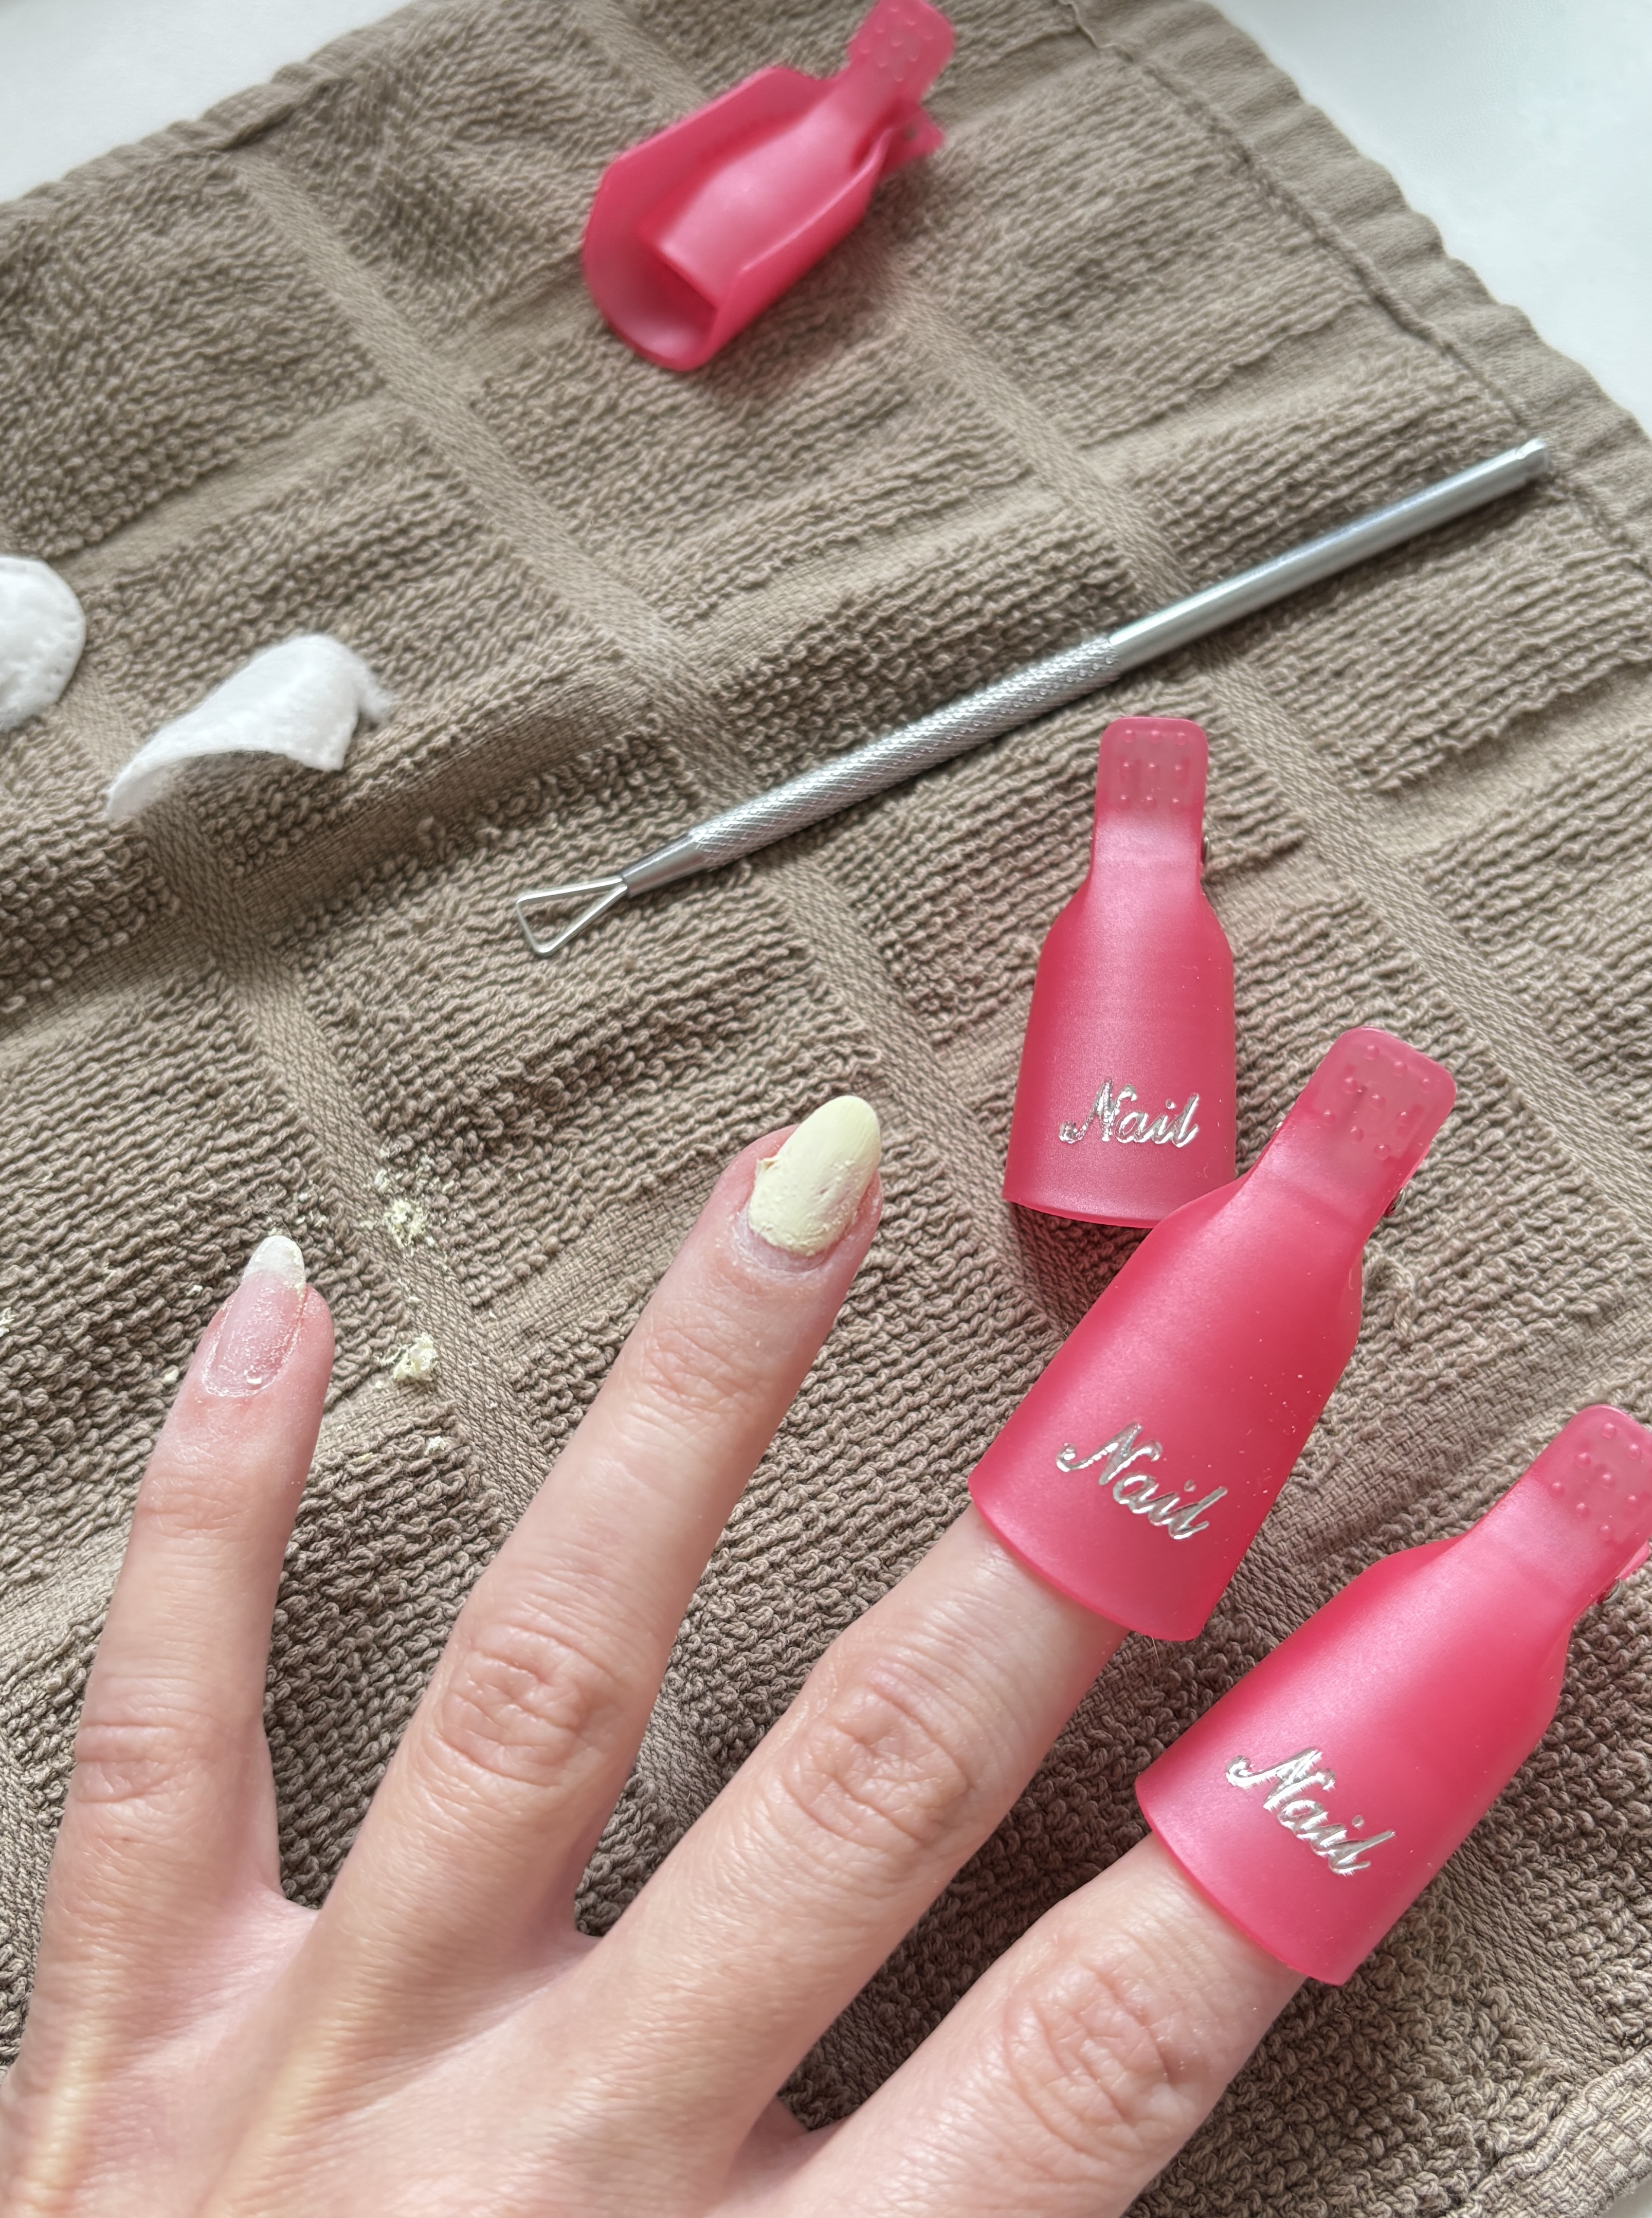
- Nail cap clips or aluminum foil
- 100 grit nail file
- Tool to scrape and remove polish
Step-by-Step Tutorial
If you have gel on your nails, read the Gel Removal Tutorial steps first
Prep:
-
File to your desired length and shape. The rougher side of the file (100) will take off length faster.
→The lower the number, the coarser the grit
- Cuticle care. Apply the Instant Cuticle Remover and let sit for 15 seconds. Use a cuticle pusher to gently push back and remove the cuticle. Carefully trim excess with a cuticle trimmer if necessary.
- Buff your nails. Use a buffer block to gently buff away shine, smooth the nail surface, and create texture for the gel to adhere to.
- Cleanse. I prefer to wash my hands with water only and buff with the brush provided in the manicure kit. You can also wipe your nails with isopropyl alcohol and a lint-free pad to remove any oils or dust.
- Prime your nails for polish! Apply a Nail Dehydrator first, then apply a Nail Primer to all 10 nails.
Polish:
Please be careful to not get any gel polish on your skin. Work very slowly, in a well-lit area. Gel will not cure until it’s under the UV light, so take your time!
-
Apply the clear base coat. This is the most important step that sets the tone for the rest of the polish! Wipe off nearly all the polish from the brush back into. the bottle so you’re only working with a small amount. Start several millimeters away from your cuticle and brush towards the tip of your nails. Once you’ve comfortably covered the top half of the nail, slowly spread the base coat back towards the cuticle, taking care to not touch the cuticle or any skin.
→ Be mindful to tilt your nails downwards so the gel does not drip towards the cuticle.
→If you accidentally get any polish on the skin or cuticle, use a tiny brush dipped in acetone to wipe it away.
-
Cure the base coat in the UV lamp. Set your fingers under the UV light for ~60-90 seconds. Each polish is different, so follow the instructions on the bottle or the brand’s website.
→ Even after curing, try not to touch your nails. The base coat will be sticky!
-
Apply your gel polish - pick your favorite color! Follow the same process as step 1. Work in very thin layers, wiping excess polish off before applying the brush to the nail. You can work your way up to 2 or 3 layers of color!
→ Continue to work slowly and wipe any overflow off your skin with a clean brush and acetone.
→ On your final coat of color, cap the free edge of the nail (the very tip) to seal it up.
- Cure in between polish coats. Same as step 2; cure each layer of color under the UV lamp for ~60 seconds.
- Apply the top coat. Same process, but use your no-wipe top coat. Cap the free edge with the top coat too!
-
Cure the top coat. If you’re happy with your color, cure for 90-120 seconds.
→Chrome! If you’d like to apply chrome, only cure the top coat for 30 seconds, then rub your chrome powder with a silicone tool or eyeshadow applicator. Brush away excess chrome with a big fluffy brush. Apply another layer of top coat, then cure for the full 90-120 seconds!
-
Clean up and you’re ready to go! Add cuticle oil to each nail to rehydrate after all that acetone use. Apply lotion to your hands and ~voila~ you’re ready to shine!

Gel Removal Tutorial
- File off the top coat of polish. Use a 100 grit file to buff off the shiny coat of your current polish set. The goal is to break down the top coat so the acetone can penetrate the color polish underneath.
- Cover the nail with acetone-soaked cotton pads. I love using the clip caps to hold the cotton pads in place, but you can wrap it with aluminum foil too. Wait 10-15 minutes.
-
Scrape your old polish off! Check the nails one at a time. Use a scraping tool to gently push the polish off, taking care to not scrape your natural nail. The polish should scrape right off. If not, don’t force it! Wrap it back up and wait a few more minutes.

Why I decided to ditch the salon
I personally don’t mind spending time in the salon. Aside from the awkward small talk that made me cringe (major introvert here!), it was a peaceful outing for myself. However, I hit a breaking point when my nails started bending and splitting from the side. I swear it is from the sudden use of e-files everywhere. Nail techs used to do the old fashioned manual filing and soaking in acetone. Now however, if I request them not to use the e-file, I get an annoyed look, and some techs have even ignored me. I’ve even gotten shamed for having such brittle nails at my next visit following a visit where the e-file was used. It got to the point where a few of my nail beds had been shaved down so far, it was burning! I’m tired of salons “saving time”, compromising the health of my nails, and having the audacity to up their prices.
After this happening over and over, I decided I’d had enough. For the price of 3 or 4 manicures at a salon, I bought all the nail supplies I needed plus about 15 gel polish colors and CHROME POWDER. Never again will I be charged an extra $15 to have Tin Man Can powder rubbed on my nails. *eyeroll*
Thanks for coming to my ted talk. I’d love to hear from you - have you been victimized by modern nail salons? Do you DIY your nails at home? Tell me any advice you have; we’re all learning together!

Comments
No comments yet. Be the first to comment!